Self Installation
Step-by-step how to install your EVO Force 1 box
How to Install the EVO Force 1 Box

1-Once box is powered on, this screen will display.

2-Pair the remote by pressing the TiVo button.

3-Select the language and hit the center button.
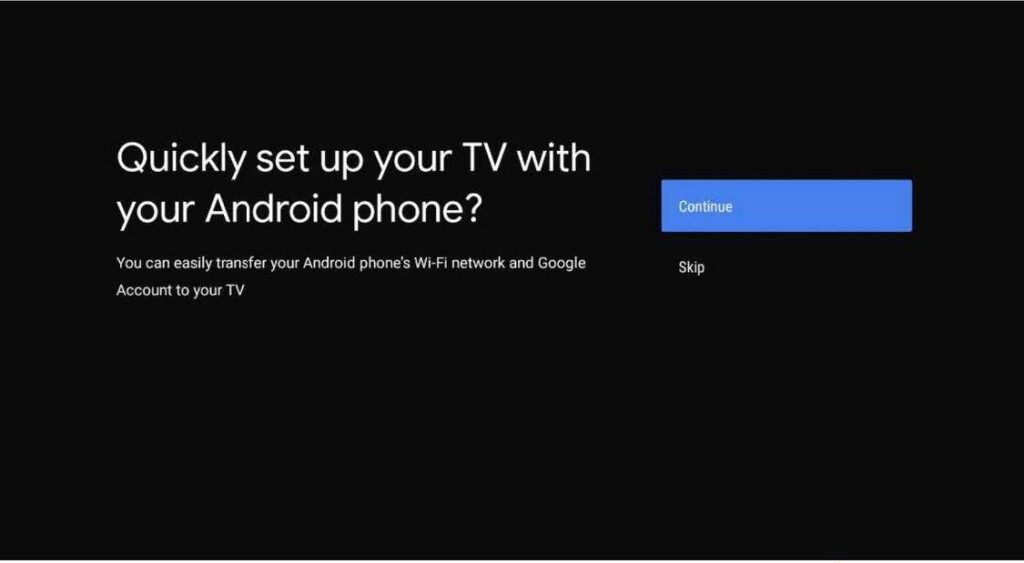
4-If using your personal Google account on your Android phone, use these prompts
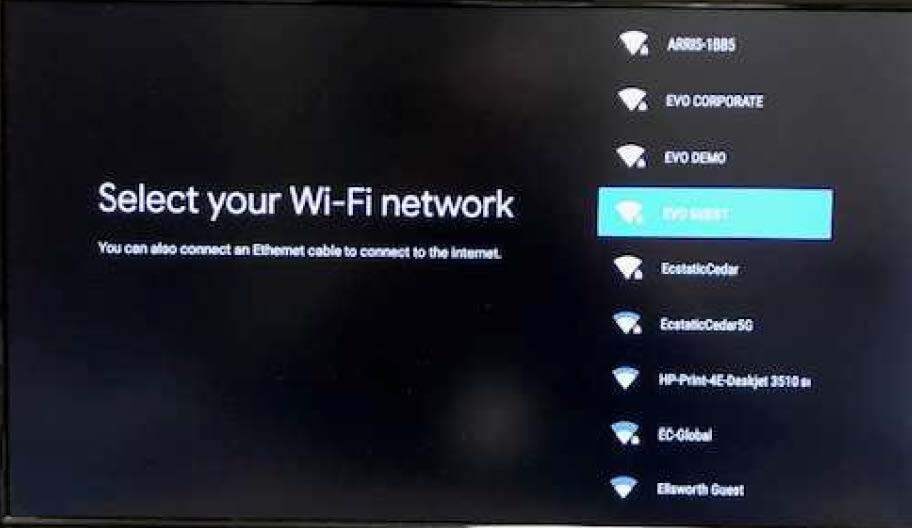
5-Select your WiFi connection, follow these prompts
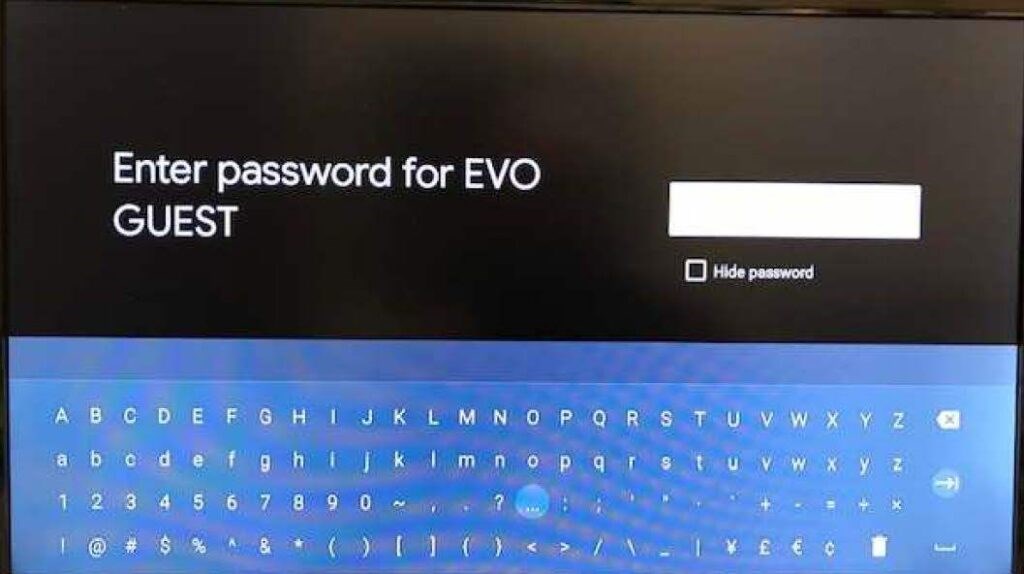
6-Enter the password associated with your WIFI.
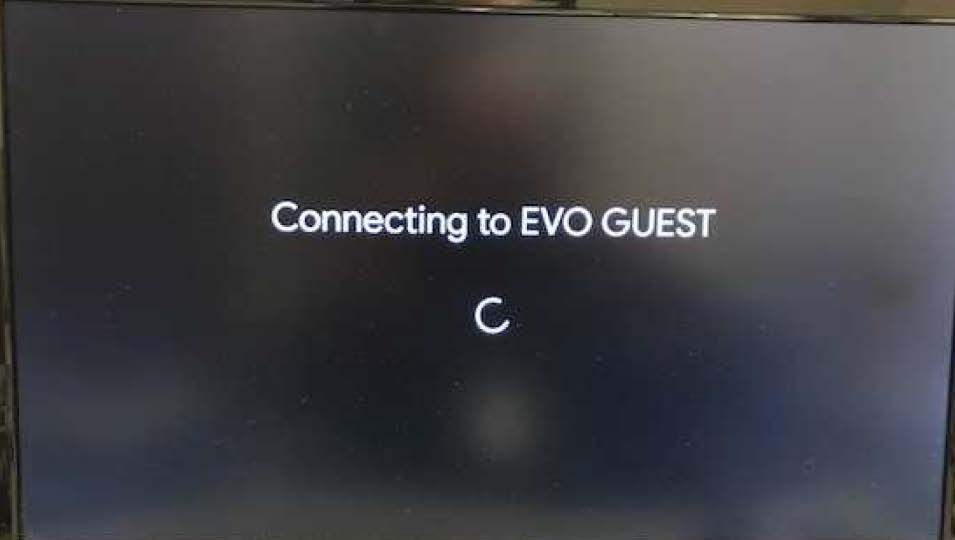
7-Wait for the box to connect.

8-Confirm wireless connection.

9-There may be software updates downloading after the Internet connection is established.
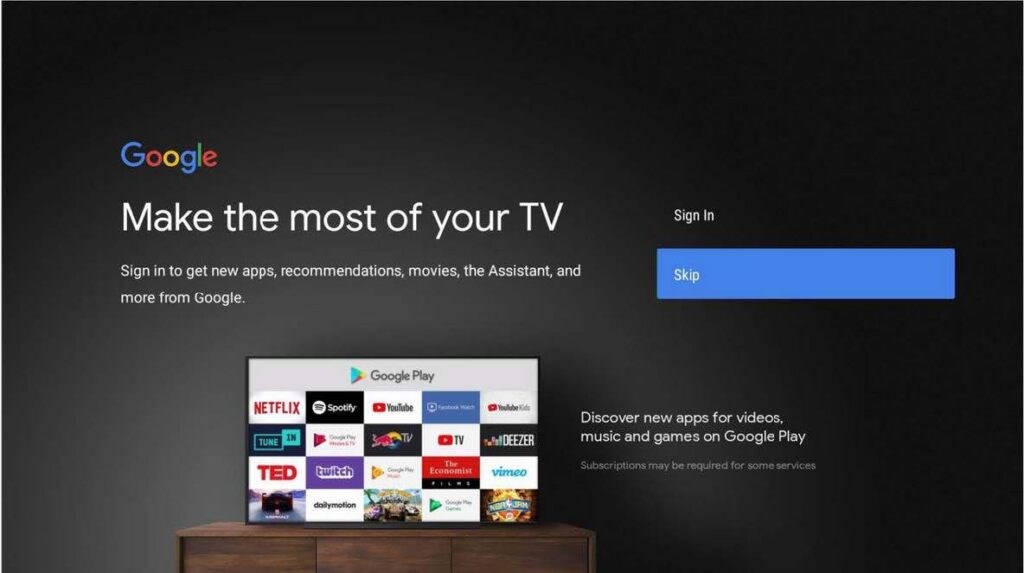
10-Sign into your Google account or Skip.

11-Accept the terms of service
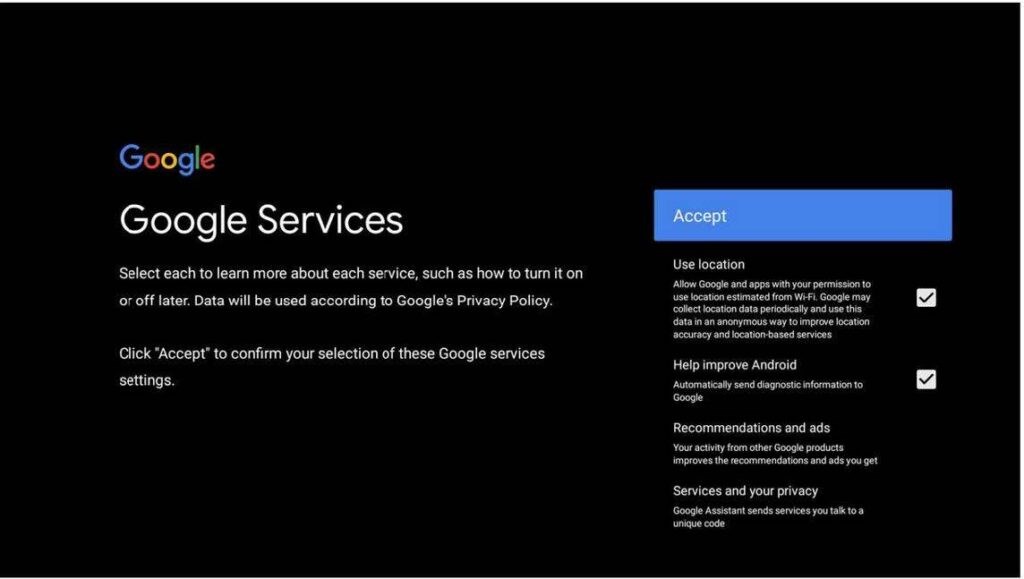
12-Accept Google services and choose options.There may be addtional prompts on data sharing. (optional)
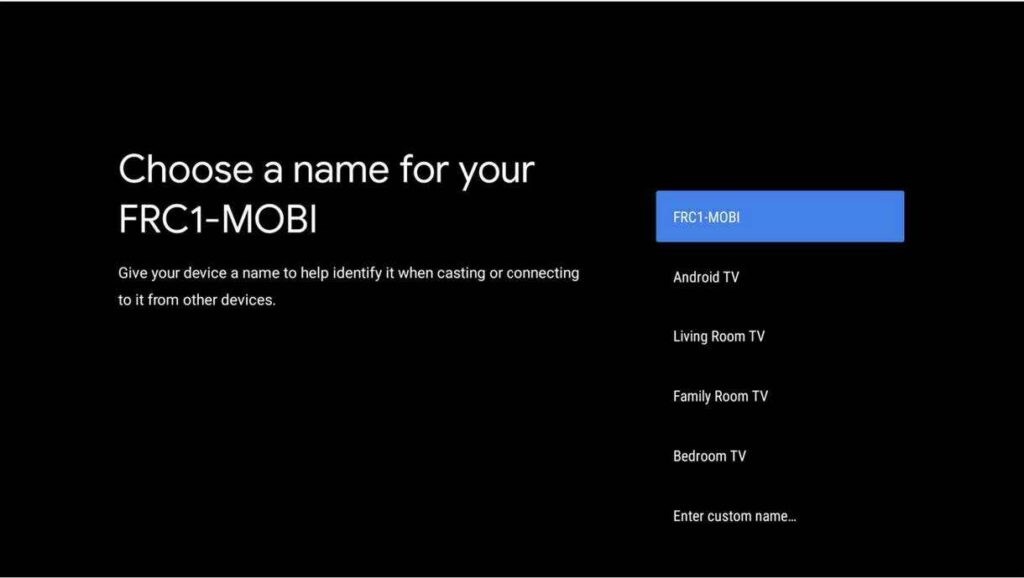
13-Choose to name your Force 1 box or select the
default. (Choosing a name helps when troubleshooting
multiple connections.)
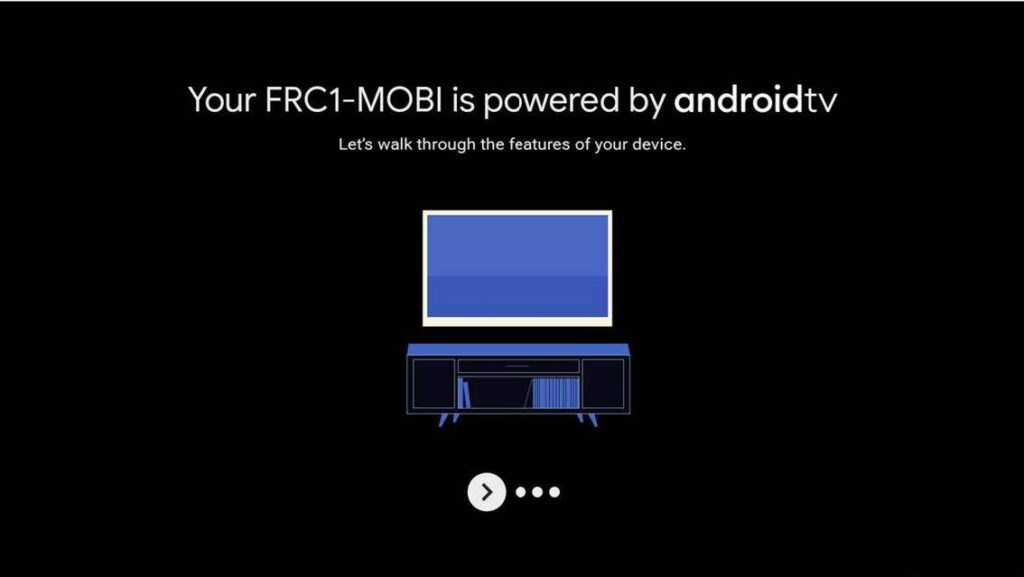
14-Walkthrough features.
15-Setup is complete.

Your Flight Video system is powered by TiVo. Enjoy!
If you have any issues, contact Customer
CARECustomer CARE reps are available 24/7 to help you set up your new Flight Video service. Call us at 712-271-4000.